Friday, July 6, 2012

July 5: Crane Day - Raising the Walls


Erik and Dave discuss each step of the crane lift.
Erik gives specific instructions for the raising the walls.
Getting all the gear ready - endless loop straps, come-alongs, bolts...
The small shed roof wall on the north side gets lifted first. That was easy.

After the shed roof wall is temporarily braced, the north wall of the barn is lifted...

...and braced in place, slightly leaning out.
The south wall pauses during the lift for come-alongs to be attached.

Once the south wall is secured, the crane lifts the girt connecting the two walls.
Walls are up, connected with the long girt on the east side, and braced.
Erik and Scott install the steel connectors tying the walls together.
The next day, Erik and Scott frame the back wall with post, beams and knee braces.

Come-alongs pull the posts together while Erik connects the knee brace.

It's so exciting to see the walls vertical! Everything went together smoothly and the crane was only here for two hours lifting the three walls and the long connecting girt on the east side. The next couple of days were spent assembling the west wall and connecting the north shed roof wall to the main structure.

Tuesday, July 3, 2012

July 3: Timber Frame Assembly

The South Bent is assembled first, and will be lifted last.
The Beam Plate will sit on top of the Posts, and are attached with steel straps.
The straps are connected with through bolts.  Drilling from both sides, to insure straight holes can be awkward.
The through bolts are tightened.
The South Bent has been assembled and lowered. 
The North Bent is assembled above the South Bent so it can be lifted first.
The bottom of the North Bent is then lowered with high lift jacks so the final, smaller wall can be assembled.

The ends of the Beam Plates, which will be exposed to weather, are sealed with an emulsified wax.


Drilling the third wall was even more awkward, with two assembled Bents underneath it.
The North shed roof wall is assembled last above the two Bents. 
This wall will be the first one to be lifted.
For the past month, Erik and Scotty have been completing the joinery on the first phase of the barn structure, the walls.  After cutting, drilling and locating housings for the posts, beams, girts and knee braces that form the walls of the barn, they are ready to be assembled.  At the end of the day today, three walls were positioned on the slab for raising on Thursday: the main north and south Bent walls, and the smaller shed roof wall on the north side. It'll be so very satisfying and exciting to see the crane lift the walls on July 5!

Monday, May 14, 2012

May 14: Timbers Arrive From the Sawmill

Rough sawn joists are unloaded at the site.

Rafters are next.

Some of Posts and Beams are unloaded, and placed on stickers

The timber package, including the post and beam material, joists, rafters, and siding was milled in February and stored at West Sound Lumber. As soon as the concrete work was completed, Erik arranged for Dave to truck the barn materials to the site.  The boomtruck provided an efficient way to unload the material.

Friday, May 11, 2012

May 11: Time Out for the Garden


Erik and Scotty level the fence posts - not so easy on the sloping grade.
Setting recycled posts Harry sourced from a former blueberry farm on the mainland.
The lower gate looks good.
Erik tests the upper gate height.
Discussing the garden plan - there's a double gate that opens for vehicles as well as a person gate.
We love Erik's creative gate and handle.
Scotty installs raised beds while Erik tills the future raspberry bed.


While waiting for the concrete slab to cure, and in between other tasks, Erik and Scotty fenced in a garden area, constructed six raised beds, and helped with tilling and garden preparation.

Wednesday, May 9, 2012

May 9: Pouring the Concrete Slab


Slab forms are installed between piers with a rebar grid. 
Electrical conduit and a ground wire are placed prior to pouring concrete.


Sea Island returns without a pump truck this time to pour the slab.

Erik, with help from Rick, moves concrete around in between the forms.
The last section of the slab is filled.
Erik wheelbarrows some extra concrete down the hill to pour a pad at the bottom of the deck stairs.
Rick uses a power trowel to finish the slab surface.
The slab is finished, now we wait for it to cure.

Thursday, April 26, 2012

April 26: First Concrete Pour

Erik and Scotty are greeted the morning of the concrete pour by a happy dog.


Sea Island Sand & Gravel supplied a pump truck to reach all of the piers.

John operates the controls for the pump truck boom.
Scotty controls the hose, filling the concrete forms while Erik follows finishing the concrete.


After filling all of the forms with concrete, Scotty teams up with Erik to expedite the concrete finishing.

Wednesday, April 18, 2012

April 18: Building Concrete Forms

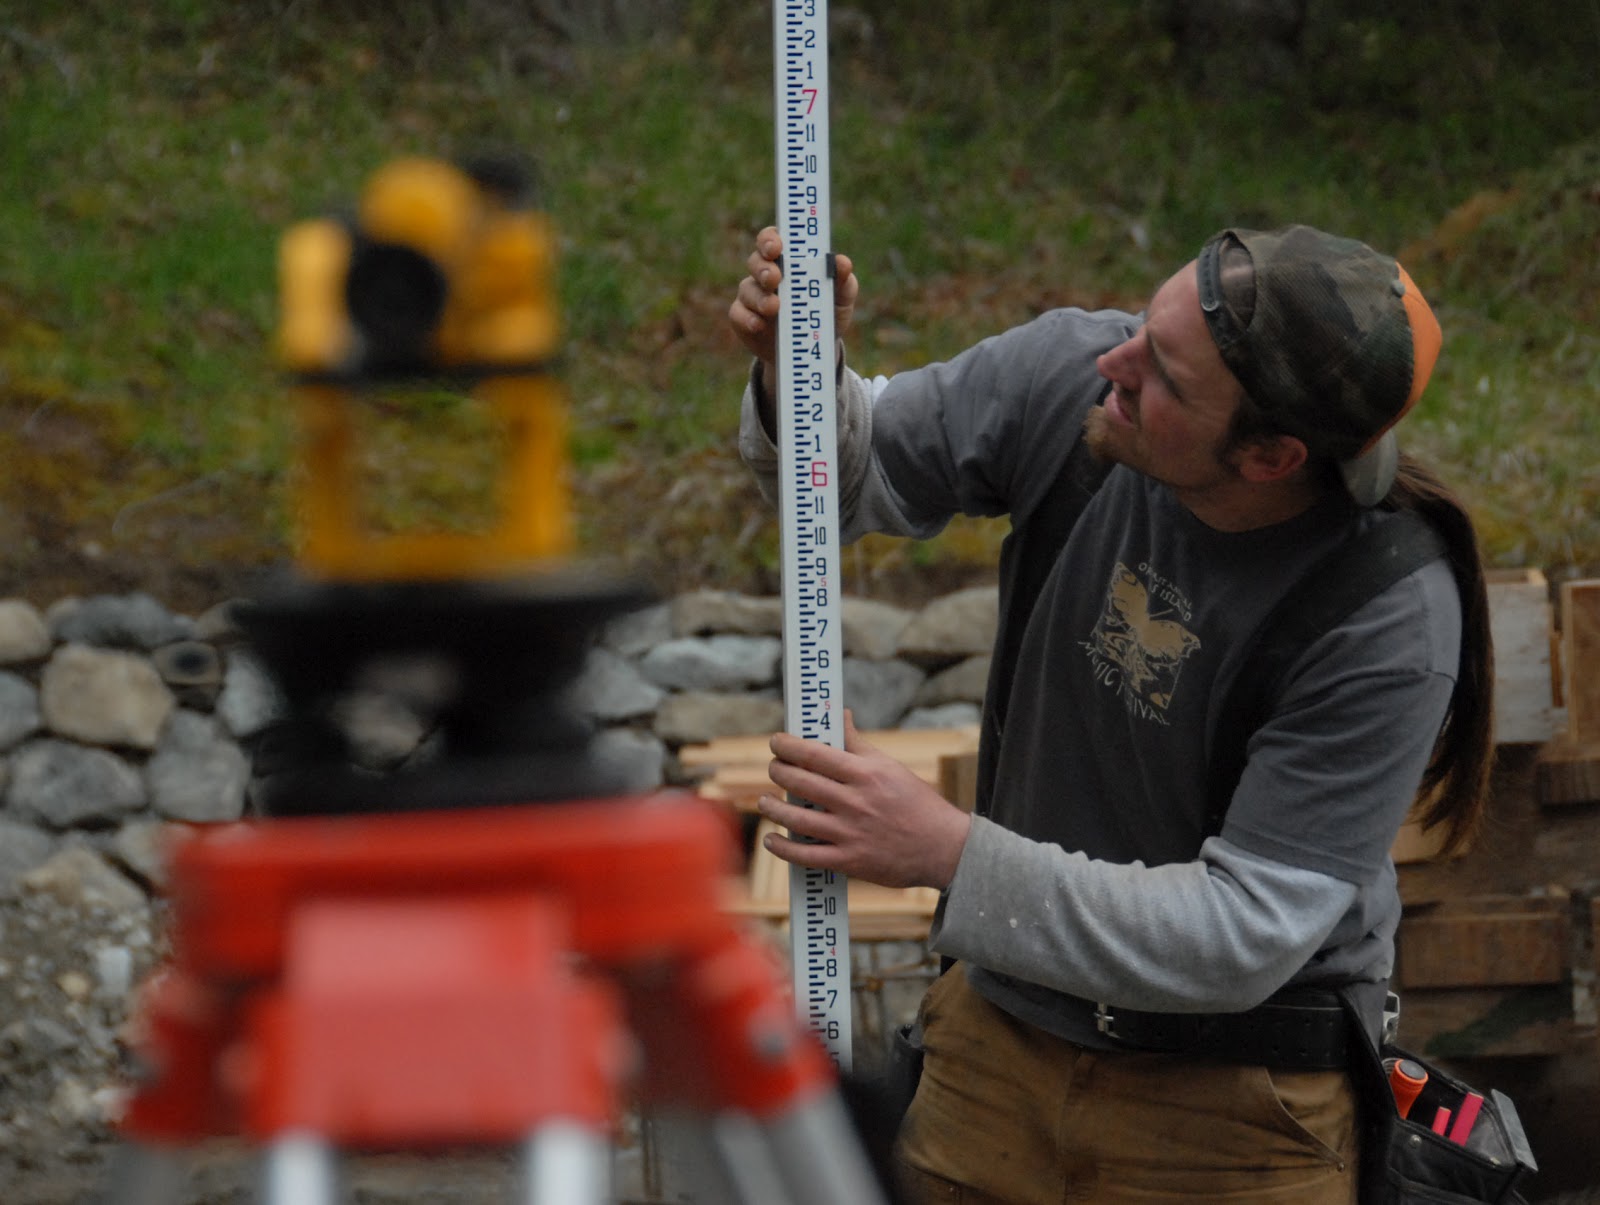
 Erik uses a transit to precisely pinpoint the pier elevations.

A rebar grid is placed in a footing, continuous under the
four East piers to resist potential seismic forces.

 The rebar grid must centered and tied to the forms prior to pouring concrete.


 The piers on the East side are square to accommodate the larger post bases.

High uplift capacity post bases are placed in pier forms.
Concrete will be poured around them.

 The forms pass county inspection.


  One of the piers required a pump to remove the ground water seeping in through fractured bedrock.  


John Cadden returned to the site to excavate for footings for all the barn posts. Erik and Scott then built plywood footing forms with rebar cages tied inside them.  Sonotube pier forms were then secured to the top of the form boxes.  Most of the posts are on individual piers, however the east wall of the barn required a continuous footing with four piers which resist seismic forces on the structure.

Monday, April 9, 2012

April 9: Milling Logs Into Siding


Using Kaj's bandsaw, Erik and Kaj turn the roughsawn logs into siding.

Kaj's mill in action at West Sound Lumber's sawmil
Nuñez delivers more Douglas Fir logs to the queue.
Fresh off the mill.
The bandsaw slices off uneven edges.
Erik stacks up the siding and trim with stickers in between.
Our big stack of posts, beams and siding awaits delivery!

West Sound Lumber milled a large, sustainably harvested timber package for our post and beam barn. Some of the island fir logs became 8x8 posts and beams, and others were roughly canted for bandsaw milling.

Kaj brought his portable sawmill to West Sound Lumber, where he and Erik milled our logs into board and batten siding and trim. Meanwhile, West Sound Lumber is storing our timber under cover until the barn foundation is completed.